
!["[New] Cutting-Edge TikTok Recording Capturing High-Quality Videos with Ease for 2024"](https://www.lifewire.com/thmb/rZ_WDtSFfWWNjImE3LwbXMfrvbQ=/400x300/filters:no_upscale():max_bytes(150000):strip_icc()/steve-jobs-ipad-56a532e13df78cf77286df05-71a7ce3d96c94af981da1f2251113248.jpg)
"[New] Cutting-Edge TikTok Recording Capturing High-Quality Videos with Ease for 2024"
Cutting-Edge TikTok Recording: Capturing High-Quality Videos with Ease
Whether sardonic, informative, or both, voiceovers can improve a TikTok video for humor and clarity.
What do sewing how-to videos, cooking tutorials, and daily vlogs have in common? They all probably are dependent on TikTok’s voiceover feature, which can be helpful in the inbuilt editing suite of the TikTok app.
Ever wished to record a TikTok and save it for later without letting the publisher know? Then, it is always the best idea to learn how to screen record on TikTok. This article will help you learn multiple ways of screen recording on TikTok without you having to worry about the other person knowing.
And, we’ll also look at how to do a voiceover on TikTok using the step-by-step guide mentioned below.
In this article
01 How to Screen Record on TikTok?
02 How to Add Voiceover to the TikTok Video?
03 Add Voiceover to TikTok Video with Extra Fusion: Wondershare Filmora
Part 1: How to Screen Record on TikTok?
Have you ever accidentally taken a screenshot of someone’s Instagram story or screen recorded it for future reference and got scared that the person may have got notified?
While Instagram had the feature of notifying users if their story or picture has been screen recorded, it has recently changed to restrict this notification to images and videos sent via private DMs.
However, TikTokers can rest assured as TikTok has never had a similar notification feature, and you can safely screen record TikTok without mentioning the publisher.
How to Record Computer Screens on Windows
PCs allow software products useful for various purposes. For example, if you would like to record your PC screen while using Windows-based software, you’ll be required a powerful screen recorder that lets you set up a new screencasting session in just a few simple steps.
Here are some of the steps you need to consider!
Step 1: Download Wondershare Filmora
Download Wondershare Filmora onto your computer and then launch the software.
Wondershare Filmora
Get started easily with Filmora’s powerful performance, intuitive interface, and countless effects!
Try It Free Try It Free Try It Free Learn More >

Just visit the browser and type the URL ‘tiktok.com’ in the search bar. Then, look for the TikTok video you would like to record.
Besides providing functions that activate you to control the screen recording procedure entirely, Wondershare Filmora is also a video editor program that lets you manipulate your videos in any way you want.
You must double-click on its desktop icon and open the Full Feature mode right after launching the software. Now, hit the Record tab and choose the Record PC screen option.
The Wondershare Screen Recorder window will appear on the screen so you can modify the settings for your upcoming screencasting session.

You’ll see the Settings icon in the window’s lower right corner and then click it. For example, you can select the computer’s hard drive destination where the recording will be saved, modify the frame rate or set the quality of the recording from the Quality drop-down menu.

Hit the Microphone icon to choose the mic you’ll be using to record narration, and you can select the Speakers icon if you want to disable or enable the computer’s speakers during the session of screen recording.
You’ll see the Settings icon in the window’s lower right corner and then click it. For example, you can select the computer’s hard drive destination where the recording will be saved, modify the frame rate or set the quality of the recording from the Quality drop-down menu.

Mark the Mouse checkbox if you wish the mouse clicks to display in the recording, and you can easily place the maximum duration of a recording session. It is done by inserting the preferred default screen recording duration into the Record Timer box.

Hit the Rec button to begin a new screencasting session, and the software will start recording after a three-second countdown.
Tap the F9 button on the keyboard to stop recording. It will automatically open the file in Filmora’s video editor so you can edit it before publishing online.
Part 2: How to Add Voiceover to the TikTok Video?
Steps to add a voiceover to your TikTok video.
Upload or record a new video by hitting the + at the menu’s center at the screen’s bottom area.
Hit the microphone icon on the screen’s upper right corner once you’re over with the recording and trimming clips to your desired edit. Beneath, the microphone icon must mention “Voiceover.”

Source: mashable.com
Now, you can record a voiceover timed to Video’s every frame here.
Hit the “Save“ button once you’re satisfied with the voiceover

Hitting the “Save“ button will offer you back to the video’s preview, where you can add filters, text, stickers, and various sounds.
It is needed to add effects to your voiceover by hitting the “voice effects”. Here, you can control the narrator’s volume as well.
Also, make sure to enable automatic captions to make sure your video is more accessible!
Tap the Next button once you’re over with your Video. Then, you can edit the Video’s privacy settings, add a caption, and select a cover.
Part 3: Add Voiceover to TikTok Video with Extra Fusion: Wondershare Filmora
Do you want to include your voice in a video, create a voiceover demo for sharing and uploading on social networking platforms, or frame a documentary for important content?
All you need is an ideal video editing program similar to the Wondershare Filmora Video Editor.
The Filmora’s voiceover feature allows you to record your voice or add voice-over files to Video easily. In addition, you can customize the pitch, speed, and volume of the recorded voiceover and apply fade-in and fade-out effects. I’ll share how to register and add voiceover to a video with Filmora on your computer in this post.
Firstly, you can edit your Video in Filmora and then record the voiceover afterward. Or, you can first record the voiceover and then edit the Video around.
Check the steps below on how to make TikTok videos with voiceover via Wondershare Filmora.
Wondershare Filmora
Get started easily with Filmora’s powerful performance, intuitive interface, and countless effects!
Try It Free Try It Free Try It Free Learn More >
Record Voiceover and Add it to Video
We suggest you record the voiceover first in most cases so the sound will become pretty natural.
Step 1: Connect Microphone to PC or laptop
Connect the microphone to your laptop/PC when you’re ready to begin. It’s advisable to use some professional external microphones to capture high-quality sound.
Step 2: Record voiceover
Tap the Wondershare Filmora icon to launch this software. Then, select the New Project option in the beginning interface to create a new one.
Enter the Record tab and choose the “Record a Voiceover” option to arouse the Record Audio windows.
Or hit the microphone icon, and you only need 3 seconds of countdown to begin speaking.
Click the microphone icon again after you finish the above. Then, a new Record file option will be automatically present on the audio track.
Step 3: Edit Recorded Voiceover to Video
To edit the recorded voiceover, you can adjust audio settings, such as changing the Speed, Pitch, Volume, etc.

You can cut and trim out unnecessary sound sections from the recorded voiceover or apply the fade effects to the voiceover for a smoother transition.
Step 4: Sync Voiceover to Video
Now, it’s time to synchronize the recorded voiceover to video to create a compelling video.
The Wondershare Filmora allows up to 100 audio tracks; you can also add some background music to the voiceover.
Then import and drag-n-drop the video content to the video track, drag and drop the soundtrack to the video’s right-side position. Keep the voice and video track in the exact video duration if required.
Here’s how to sync voiceover to video!
Now, sync the recorded voiceover to Video to create a video. Since Filmora is compatible with 100 plus audio tracks, you can add different background music to the voiceover.
Then import and drag-n-drop the video content to the video track, drag and drop the soundtrack to the Video’s right side position. You can keep the Video and audio track in the same video duration.

Note: If you’ve recorded the iPhone voiceover or other device already, you can import it in the Project Library if you wish to add it to the Video and then sync it to Video.
Here is the ultimate step-by-step guide about adding titles to videos after knowing how to do a voiceover on TikTok.
Step 5: Export and save the new file
Click the “Export“ tab to export your new video file after you complete the project. You can either save the Video to different formats or directly share it on other social media platforms.
Additionally, you can even burn a DVD in minutes to watch it on TV.
How to Record and Add Voice over File during Filmora’s Video Editing Process
If you’ve recorded the voice over on your iPhone or another device already, even via the Wondershare Filmora, and wish to add it to the Video, visit the steps mentioned below:
1. Upload the video to Filmora
After logging in to Filmora’s main editing interface, click “Import” or drag-drop your video and voiceover file to the project library.
Filmora video editing software is compatible with a vast range of formats, so there will be no need to convert the files before import.
Drag and drop the files or video content to the Video Timeline when all the files get imported.
2. Record Voiceover in Video Editing
3. Edit voiceover and Export
You can then edit the recorded voiceover for TikTok to perfectly fit the Video and export it to your laptop/PC or directly upload it to YouTube.
For improving the sound, Filmora features more audio editing tools.
Conclusion
This article offered you a step-by-step guide on how to record a TikTok. It also displays four different screen recording methods, along with how to do a voiceover on TikTok.
Now, don’t ever worry about losing out on your favorite TikTok without the original publisher knowing via screen record TikTok via Wondershare Filmora.
02 How to Add Voiceover to the TikTok Video?
03 Add Voiceover to TikTok Video with Extra Fusion: Wondershare Filmora
Part 1: How to Screen Record on TikTok?
Have you ever accidentally taken a screenshot of someone’s Instagram story or screen recorded it for future reference and got scared that the person may have got notified?
While Instagram had the feature of notifying users if their story or picture has been screen recorded, it has recently changed to restrict this notification to images and videos sent via private DMs.
However, TikTokers can rest assured as TikTok has never had a similar notification feature, and you can safely screen record TikTok without mentioning the publisher.
How to Record Computer Screens on Windows
PCs allow software products useful for various purposes. For example, if you would like to record your PC screen while using Windows-based software, you’ll be required a powerful screen recorder that lets you set up a new screencasting session in just a few simple steps.
Here are some of the steps you need to consider!
Step 1: Download Wondershare Filmora
Download Wondershare Filmora onto your computer and then launch the software.
Wondershare Filmora
Get started easily with Filmora’s powerful performance, intuitive interface, and countless effects!
Try It Free Try It Free Try It Free Learn More >
Just visit the browser and type the URL ‘tiktok.com’ in the search bar. Then, look for the TikTok video you would like to record.
Besides providing functions that activate you to control the screen recording procedure entirely, Wondershare Filmora is also a video editor program that lets you manipulate your videos in any way you want.
You must double-click on its desktop icon and open the Full Feature mode right after launching the software. Now, hit the Record tab and choose the Record PC screen option.
The Wondershare Screen Recorder window will appear on the screen so you can modify the settings for your upcoming screencasting session.
You’ll see the Settings icon in the window’s lower right corner and then click it. For example, you can select the computer’s hard drive destination where the recording will be saved, modify the frame rate or set the quality of the recording from the Quality drop-down menu.
Hit the Microphone icon to choose the mic you’ll be using to record narration, and you can select the Speakers icon if you want to disable or enable the computer’s speakers during the session of screen recording.
You’ll see the Settings icon in the window’s lower right corner and then click it. For example, you can select the computer’s hard drive destination where the recording will be saved, modify the frame rate or set the quality of the recording from the Quality drop-down menu.
Mark the Mouse checkbox if you wish the mouse clicks to display in the recording, and you can easily place the maximum duration of a recording session. It is done by inserting the preferred default screen recording duration into the Record Timer box.
Hit the Rec button to begin a new screencasting session, and the software will start recording after a three-second countdown.
Tap the F9 button on the keyboard to stop recording. It will automatically open the file in Filmora’s video editor so you can edit it before publishing online.
Part 2: How to Add Voiceover to the TikTok Video?
Steps to add a voiceover to your TikTok video.
Upload or record a new video by hitting the + at the menu’s center at the screen’s bottom area.
Hit the microphone icon on the screen’s upper right corner once you’re over with the recording and trimming clips to your desired edit. Beneath, the microphone icon must mention “Voiceover.”
Source: mashable.com
Now, you can record a voiceover timed to Video’s every frame here.
Hit the “Save“ button once you’re satisfied with the voiceover
Hitting the “Save“ button will offer you back to the video’s preview, where you can add filters, text, stickers, and various sounds.
It is needed to add effects to your voiceover by hitting the “voice effects”. Here, you can control the narrator’s volume as well.
Also, make sure to enable automatic captions to make sure your video is more accessible!
Tap the Next button once you’re over with your Video. Then, you can edit the Video’s privacy settings, add a caption, and select a cover.
Part 3: Add Voiceover to TikTok Video with Extra Fusion: Wondershare Filmora
Do you want to include your voice in a video, create a voiceover demo for sharing and uploading on social networking platforms, or frame a documentary for important content?
All you need is an ideal video editing program similar to the Wondershare Filmora Video Editor.
The Filmora’s voiceover feature allows you to record your voice or add voice-over files to Video easily. In addition, you can customize the pitch, speed, and volume of the recorded voiceover and apply fade-in and fade-out effects. I’ll share how to register and add voiceover to a video with Filmora on your computer in this post.
Firstly, you can edit your Video in Filmora and then record the voiceover afterward. Or, you can first record the voiceover and then edit the Video around.
Check the steps below on how to make TikTok videos with voiceover via Wondershare Filmora.
Wondershare Filmora
Get started easily with Filmora’s powerful performance, intuitive interface, and countless effects!
Try It Free Try It Free Try It Free Learn More >
Record Voiceover and Add it to Video
We suggest you record the voiceover first in most cases so the sound will become pretty natural.
Step 1: Connect Microphone to PC or laptop
Connect the microphone to your laptop/PC when you’re ready to begin. It’s advisable to use some professional external microphones to capture high-quality sound.
Step 2: Record voiceover
Tap the Wondershare Filmora icon to launch this software. Then, select the New Project option in the beginning interface to create a new one.
Enter the Record tab and choose the “Record a Voiceover” option to arouse the Record Audio windows.
Or hit the microphone icon, and you only need 3 seconds of countdown to begin speaking.
Click the microphone icon again after you finish the above. Then, a new Record file option will be automatically present on the audio track.
Step 3: Edit Recorded Voiceover to Video
To edit the recorded voiceover, you can adjust audio settings, such as changing the Speed, Pitch, Volume, etc.
You can cut and trim out unnecessary sound sections from the recorded voiceover or apply the fade effects to the voiceover for a smoother transition.
Step 4: Sync Voiceover to Video
Now, it’s time to synchronize the recorded voiceover to video to create a compelling video.
The Wondershare Filmora allows up to 100 audio tracks; you can also add some background music to the voiceover.
Then import and drag-n-drop the video content to the video track, drag and drop the soundtrack to the video’s right-side position. Keep the voice and video track in the exact video duration if required.
Here’s how to sync voiceover to video!
Now, sync the recorded voiceover to Video to create a video. Since Filmora is compatible with 100 plus audio tracks, you can add different background music to the voiceover.
Then import and drag-n-drop the video content to the video track, drag and drop the soundtrack to the Video’s right side position. You can keep the Video and audio track in the same video duration.
Note: If you’ve recorded the iPhone voiceover or other device already, you can import it in the Project Library if you wish to add it to the Video and then sync it to Video.
Here is the ultimate step-by-step guide about adding titles to videos after knowing how to do a voiceover on TikTok.
Step 5: Export and save the new file
Click the “Export“ tab to export your new video file after you complete the project. You can either save the Video to different formats or directly share it on other social media platforms.
Additionally, you can even burn a DVD in minutes to watch it on TV.
How to Record and Add Voice over File during Filmora’s Video Editing Process
If you’ve recorded the voice over on your iPhone or another device already, even via the Wondershare Filmora, and wish to add it to the Video, visit the steps mentioned below:
1. Upload the video to Filmora
After logging in to Filmora’s main editing interface, click “Import” or drag-drop your video and voiceover file to the project library.
Filmora video editing software is compatible with a vast range of formats, so there will be no need to convert the files before import.
Drag and drop the files or video content to the Video Timeline when all the files get imported.
2. Record Voiceover in Video Editing
3. Edit voiceover and Export
You can then edit the recorded voiceover for TikTok to perfectly fit the Video and export it to your laptop/PC or directly upload it to YouTube.
For improving the sound, Filmora features more audio editing tools.
Conclusion
This article offered you a step-by-step guide on how to record a TikTok. It also displays four different screen recording methods, along with how to do a voiceover on TikTok.
Now, don’t ever worry about losing out on your favorite TikTok without the original publisher knowing via screen record TikTok via Wondershare Filmora.
Top 10 Freely Accessible TikTok Video Editing Tools Compatible with Mac
10+ Free TikTok Video Editing Apps/Website on Mac

Shanoon Cox
Dec 14, 2023• Proven solutions
TikTok is a super popular social media platform where you can create and share short videos with some dance, song, and lip-syncing. Even though the app has built-in video editing tools that are quite effective, at times to make your videos pop, those features might not be enough if you require something unique for your video. So, to avoid using only the limited features provided by TikTok, you need to use good TikTok editing apps/websites.
In this article, we are going to tell you about the top 10+ free TikTok video editing apps/websites that you can use to edit your TikTok videos and make them stand out.
2. FlexClip
It is an online TikTok video creator and editor. You can access it for free. It has several features that you can use for creating engaging TikTok videos in the browser. You do not even have to take the trouble of installing the app on your Mac system.
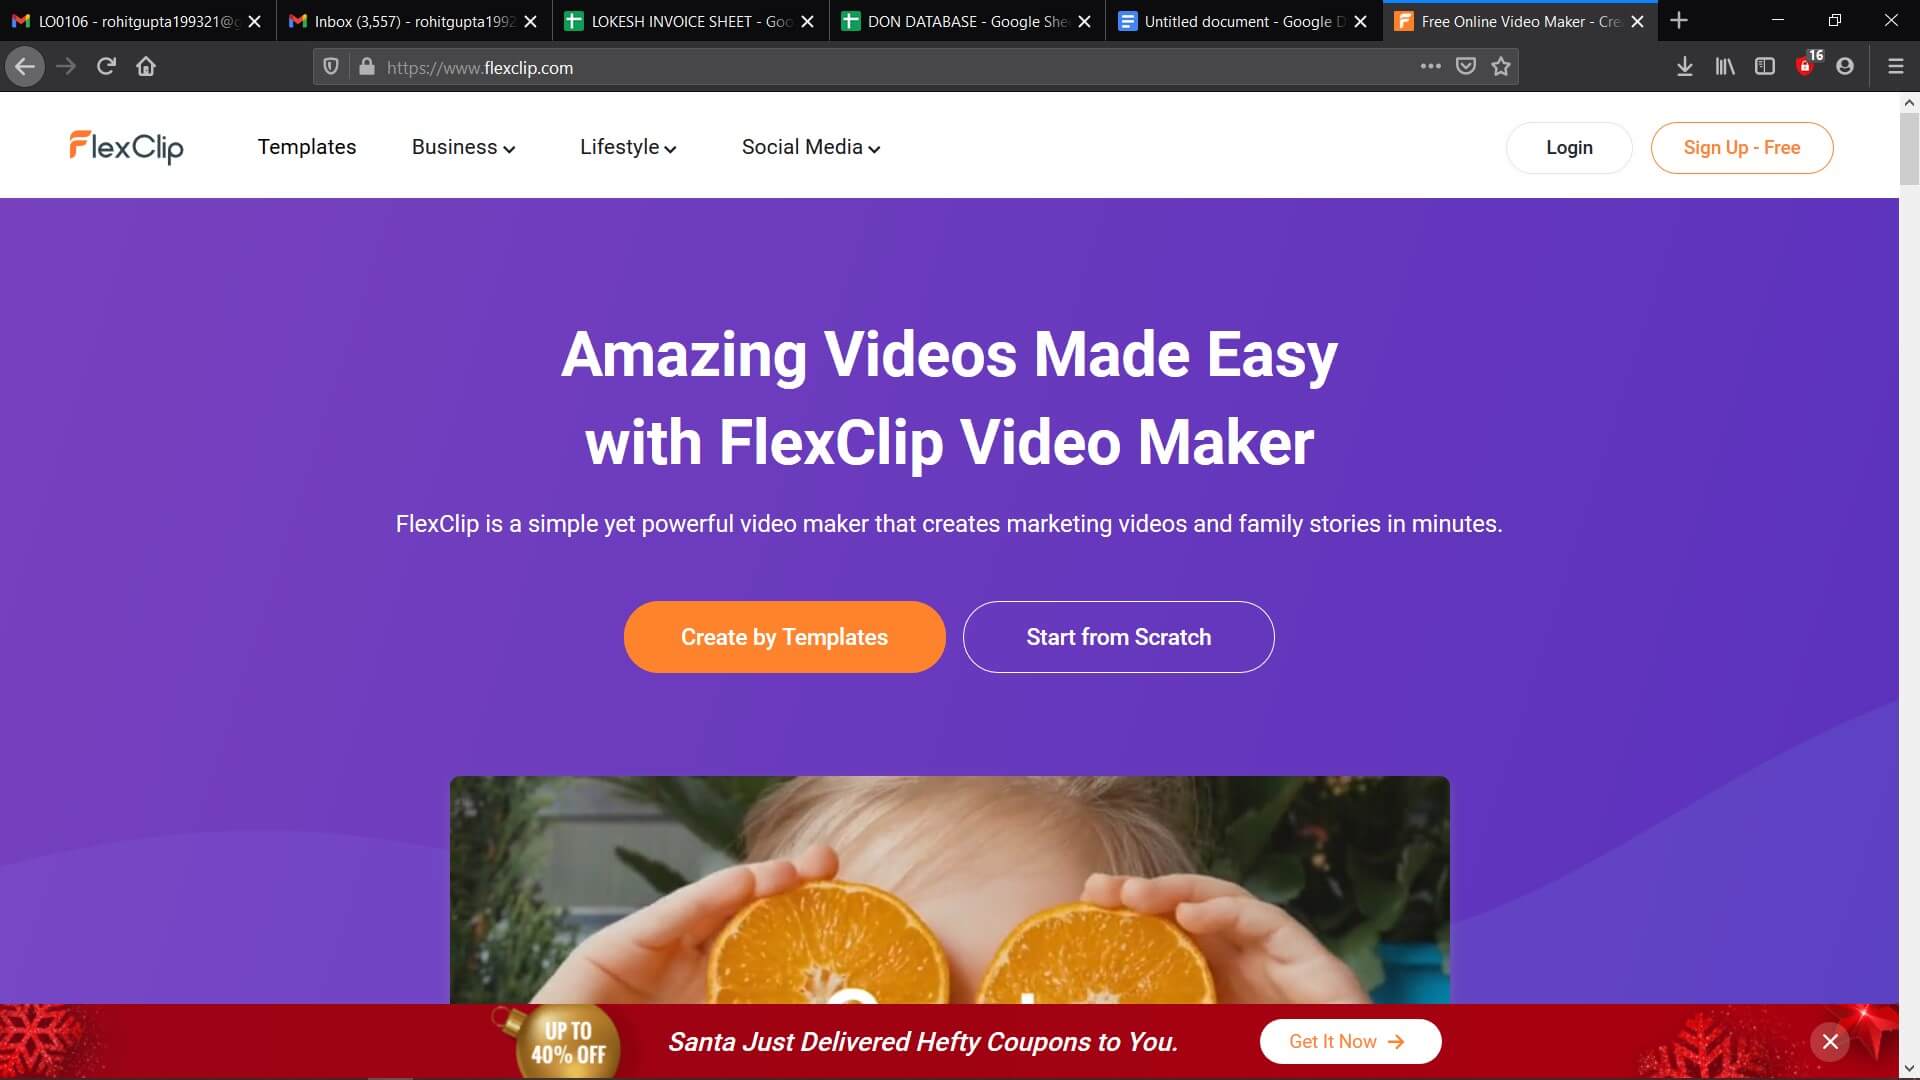
To make sure that you can easily find the media resource that you need, FlexClip offers a large media library where you can search for audio, video, and photo by using a keyword. So, by using this, you will be able to edit like professionals.
Pros
● East and free to use
● Several video template
● No need to download software
● Several royalty-free media sources
Cons
● The free version is limited
● Doesn’t have an undo button
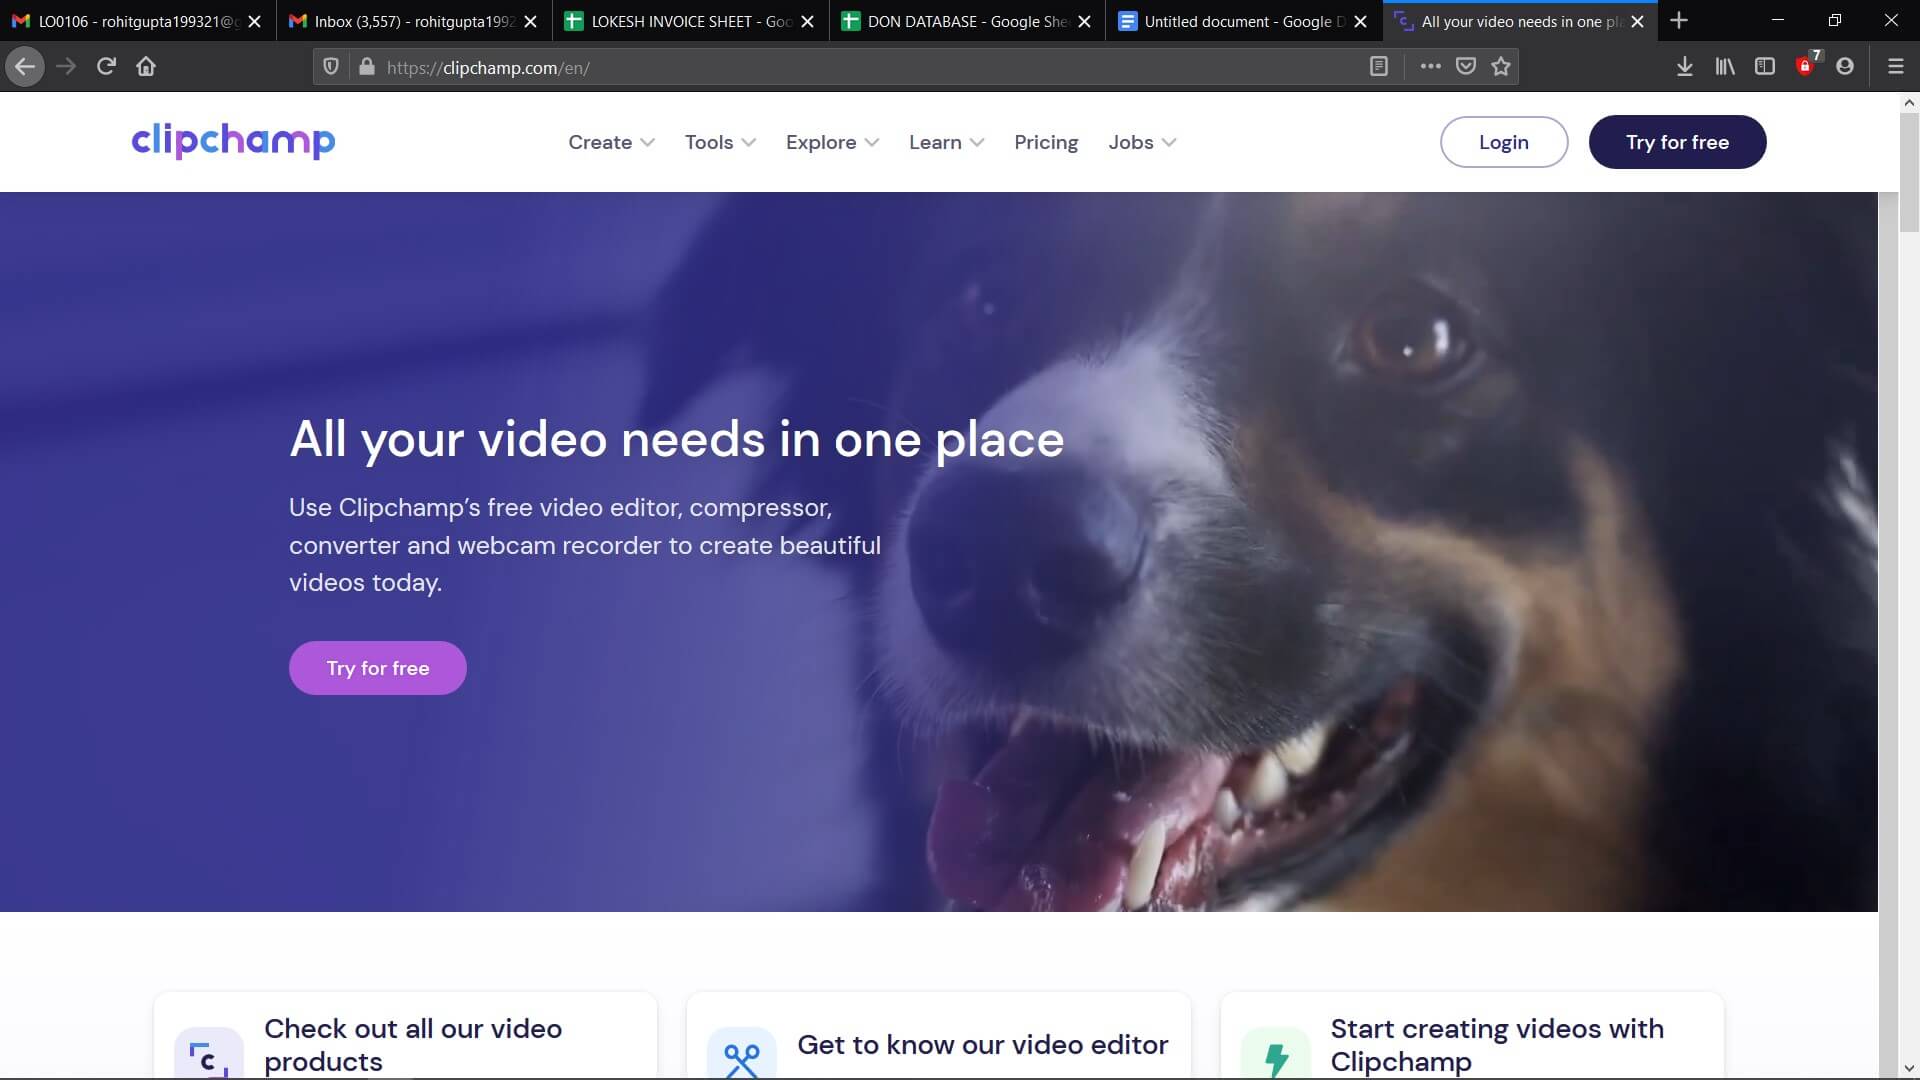
3. ClipChamp
ClipChamp is another online video editor. It has an intuitive and simple interface. With this, you will be able to enjoy great editing functions. The online TikTok video editor tool caters to all video editing requirements like splitting, cutting, and adding music or text. But this is not all, the tool will also let you apply filters and add a transition. You can access it for free. This is the best video editing tool for beginners.
Pros
● The free to use and work in the browser
● Has a large media library
● Lets you import files with just a click
Cons
● The free version offers only limited features
● You have to sign up to use
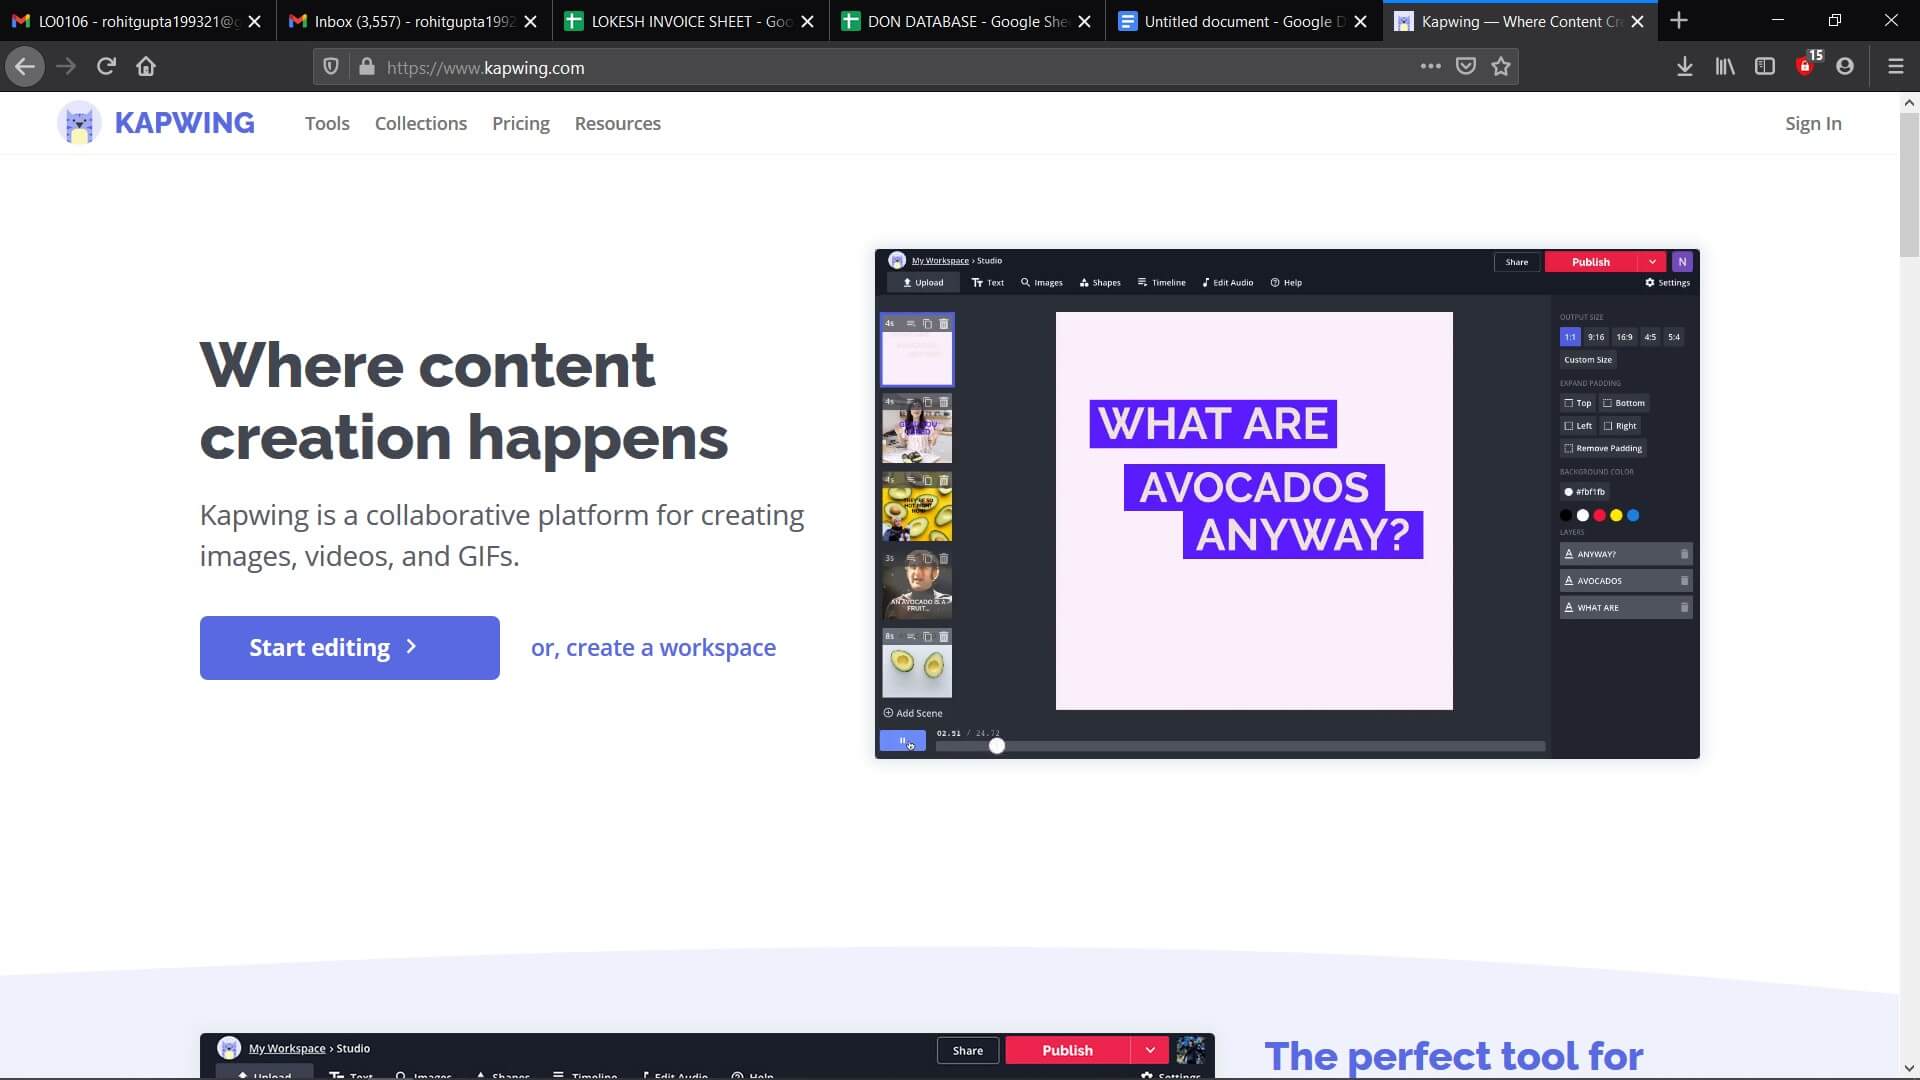
4. Kawping
Kapwing is a web-based video editor that can create amazing videos with the help of a few simple steps. All you have to do is upload the video clips to the Kapwing editor and do editing works like trimming, splitting, adding text, resizing, adding music and text, and more. One of the best things about this website is it is not going to add a watermark to the video.
Pros
● Available for free and easy to use
● Doesn’t add watermark
● Comes with several editing features
Cons
● Exports video rather slowly
● Doesn’t have media resources
5. Camtasia
This is video editing software that you can use to edit your videos for TikTok. The platform is equipped with features that optimize the creation of videos. Mac users can expect the software to run smoothly on their system.
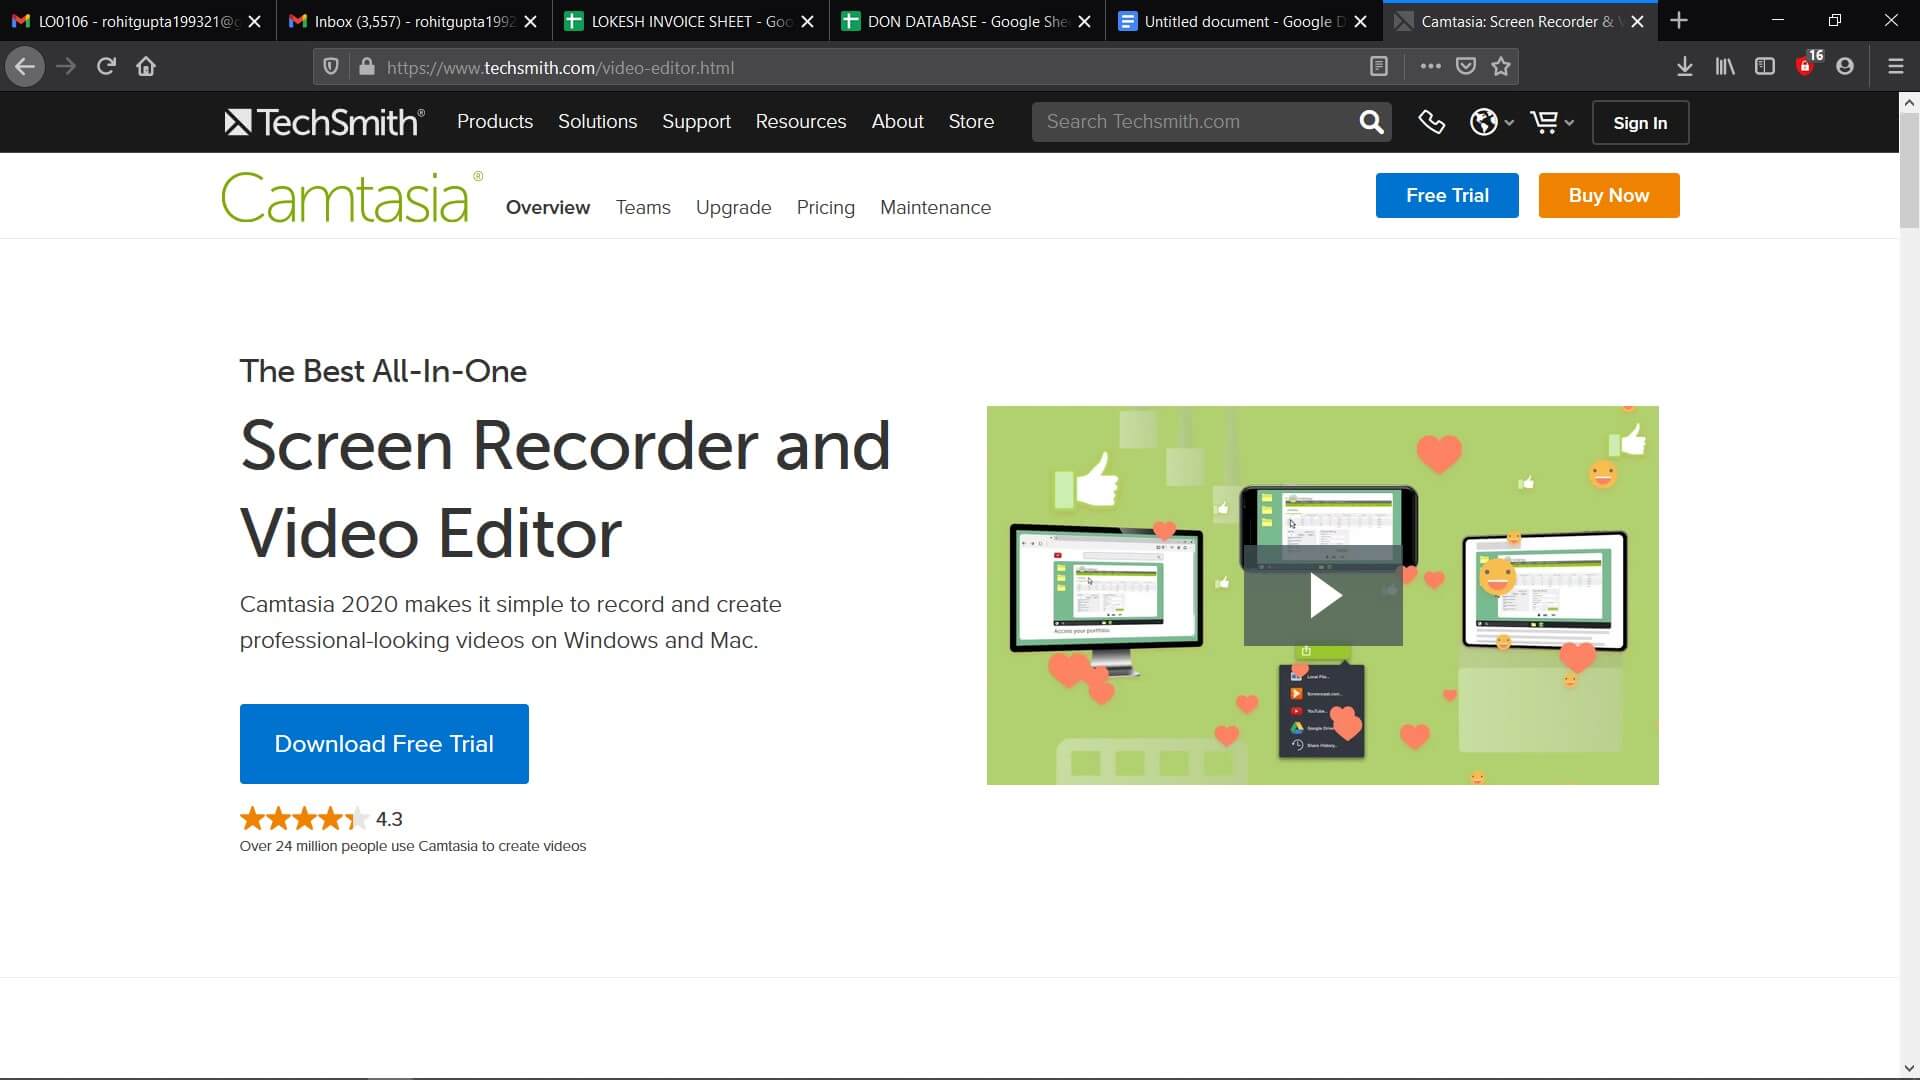
In case you are interested in checking out the Camtasia offer, you can try out the free trial. As soon as the period expires, you will have to sign up for a license. When you get the license, you will be able to unlock all the features.
Pros
● Screen recording with audio
● Large audio and music library
● Offers video templates
Cons
● The free trial doesn’t offer all features
6. Adobe Rush
It is an app that is available for macOS, Windows, iOS, and Android. To use this, you do not have to be a video editing professional. As it is a cross-platform app, you can easily create videos using it. You can adjust the video aspect ratio using the color grading effect or some of the motion graphic templates of the app.
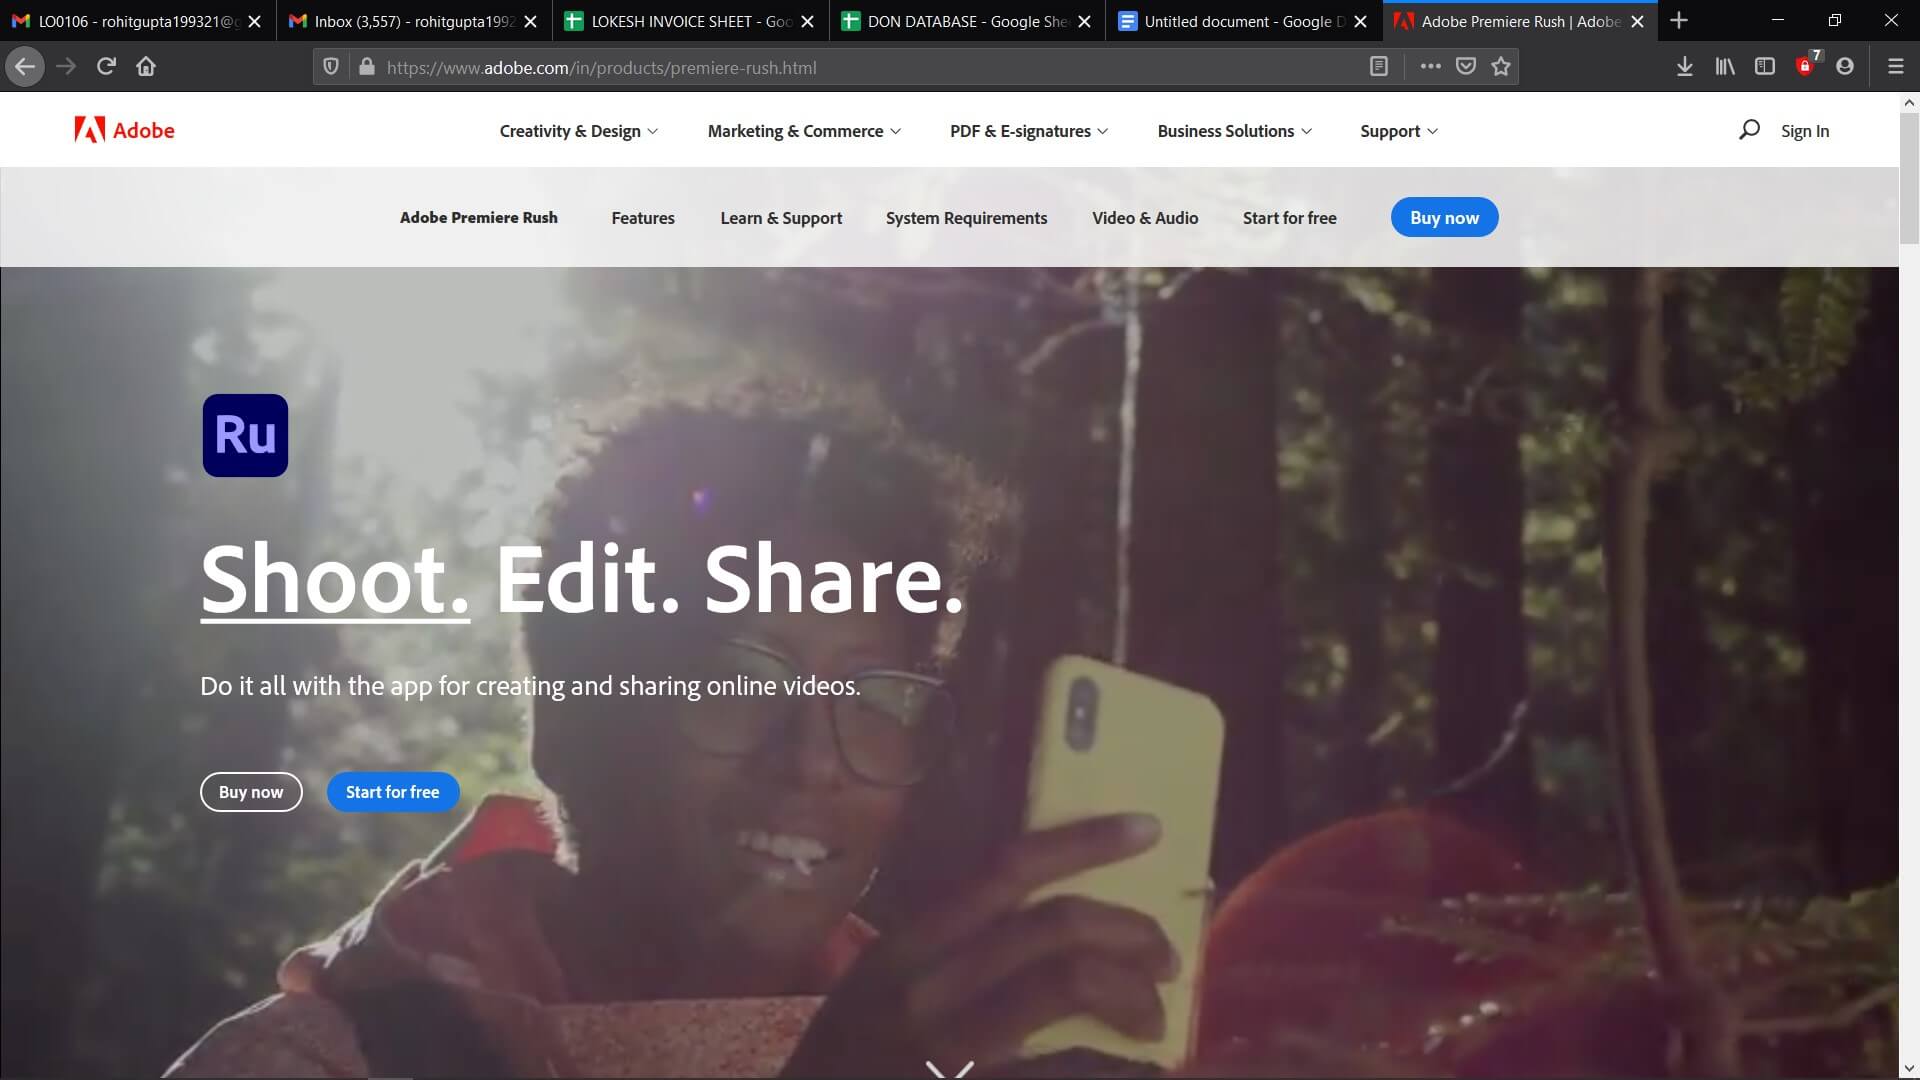
Apart from this, it also lets you adjust the Shadows, Vibrance, and Exposure in a video clip. Nevertheless, the free version of the app comes with limited features. Choose the annual or monthly subscription model if you have to expand the cloud storage space.
Pros
● Lets you share videos directly from Tiktok
● Cross-platform availability
● Is compatible with the other video editing software products by Adobe
Cons
● The app cannot be accessed in all corners of the world
● The free version allows you to export just 3 videos every month
7. Wondershare Filmora
Filmora is going to give you access to the editing tools that you will need for creating comic videos or music to share on TikTok. The video editing software for PC and Mac computers allows you to edit footage that has been recorded using smartphones, action cameras, or DSLRs.
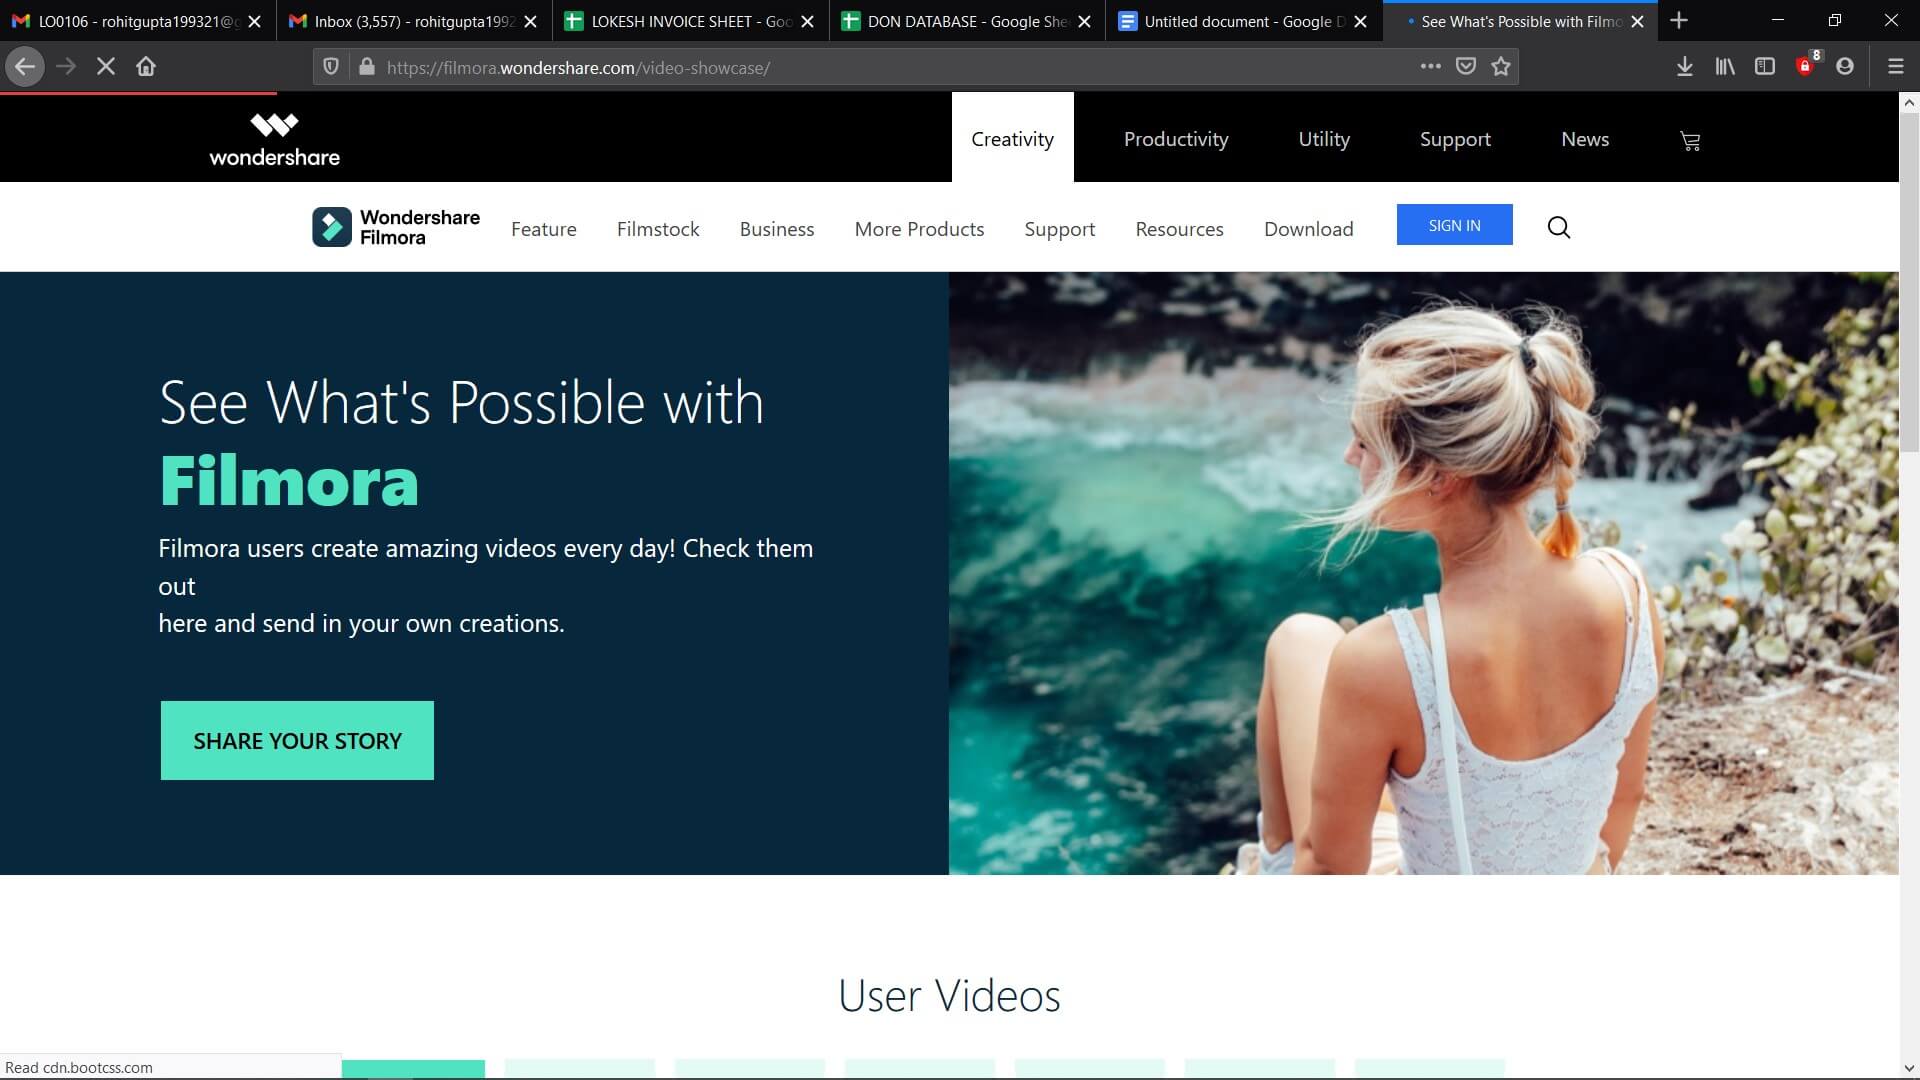
Cutting and trimming video clips, creating soundtracks for some music video, or adjusting the aspect ratio are a few things that you can do using Filmora. The exporting features of the video editor are impressive. It lets you select the device where you are going to play the video. You can upload it directly to your TikTok profile.
Pros
● Offers multiple audio and visual effects
● Supports 4K video editing
● Powerful video and sound editing tools
Cons
● Doesn’t allow you to export videos from TikTok to FilmoraX


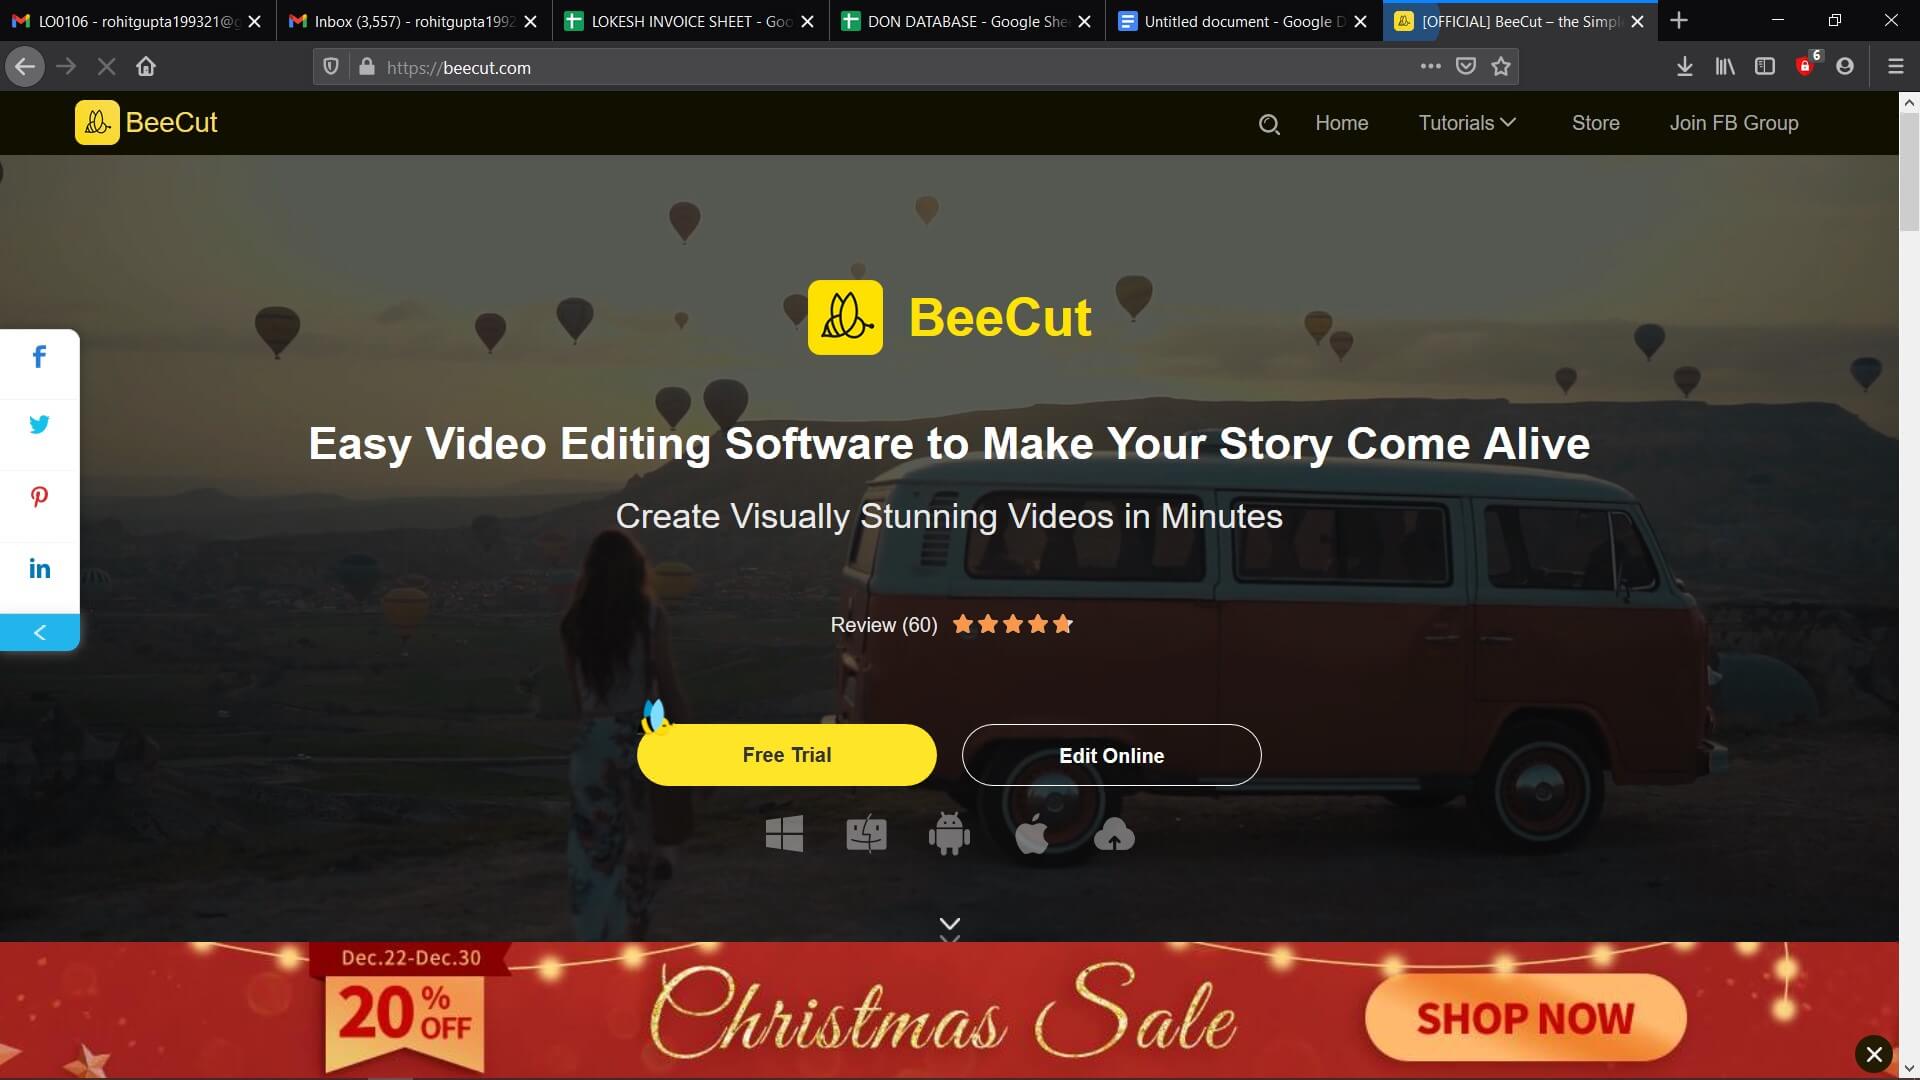
8. BeeCut
This is a video editing that is quite popular among Mac and Windows users. Apart from having a simple user-interface it also has some powerful video editing functions. With the help of this, you can add exciting and cool filters to your TikTok videos. You can also add overlays, PIP effects, titles, transitions, and much more. The software supports 5 aspect ratios that include 4:3, 3:4, 9:16, 16:9, and 1:1. Even if you have no idea about editing videos on your computer, you can use the editor to create stunning videos in no time.
Pros
● Lets you edit TikTok videos using various tools
● Enables video editing in multiple aspect ratios and resolutions
● Comes with several color strokes, animation, and other effects
Cons
● Doesn’t have Chroma Key function
9. Open Shot
OpenShot is simple and free to use open-source video editor available for Windows, Mac, and Linux. It is a good video editing tool for beginners. With this, you can learn video editing skills. If you have to learn the basics without spending too much time, this video editor is your best shot.

Other than doing basic video editing, you will also be able to render 3D animation. Using this editor, you can slice and trim videos without any hassle.
Pros
● Provides templates for editing tiles
● Lets you trim videos at your will
● Has free built-in animation and effects
Cons
● Can be buggy at times
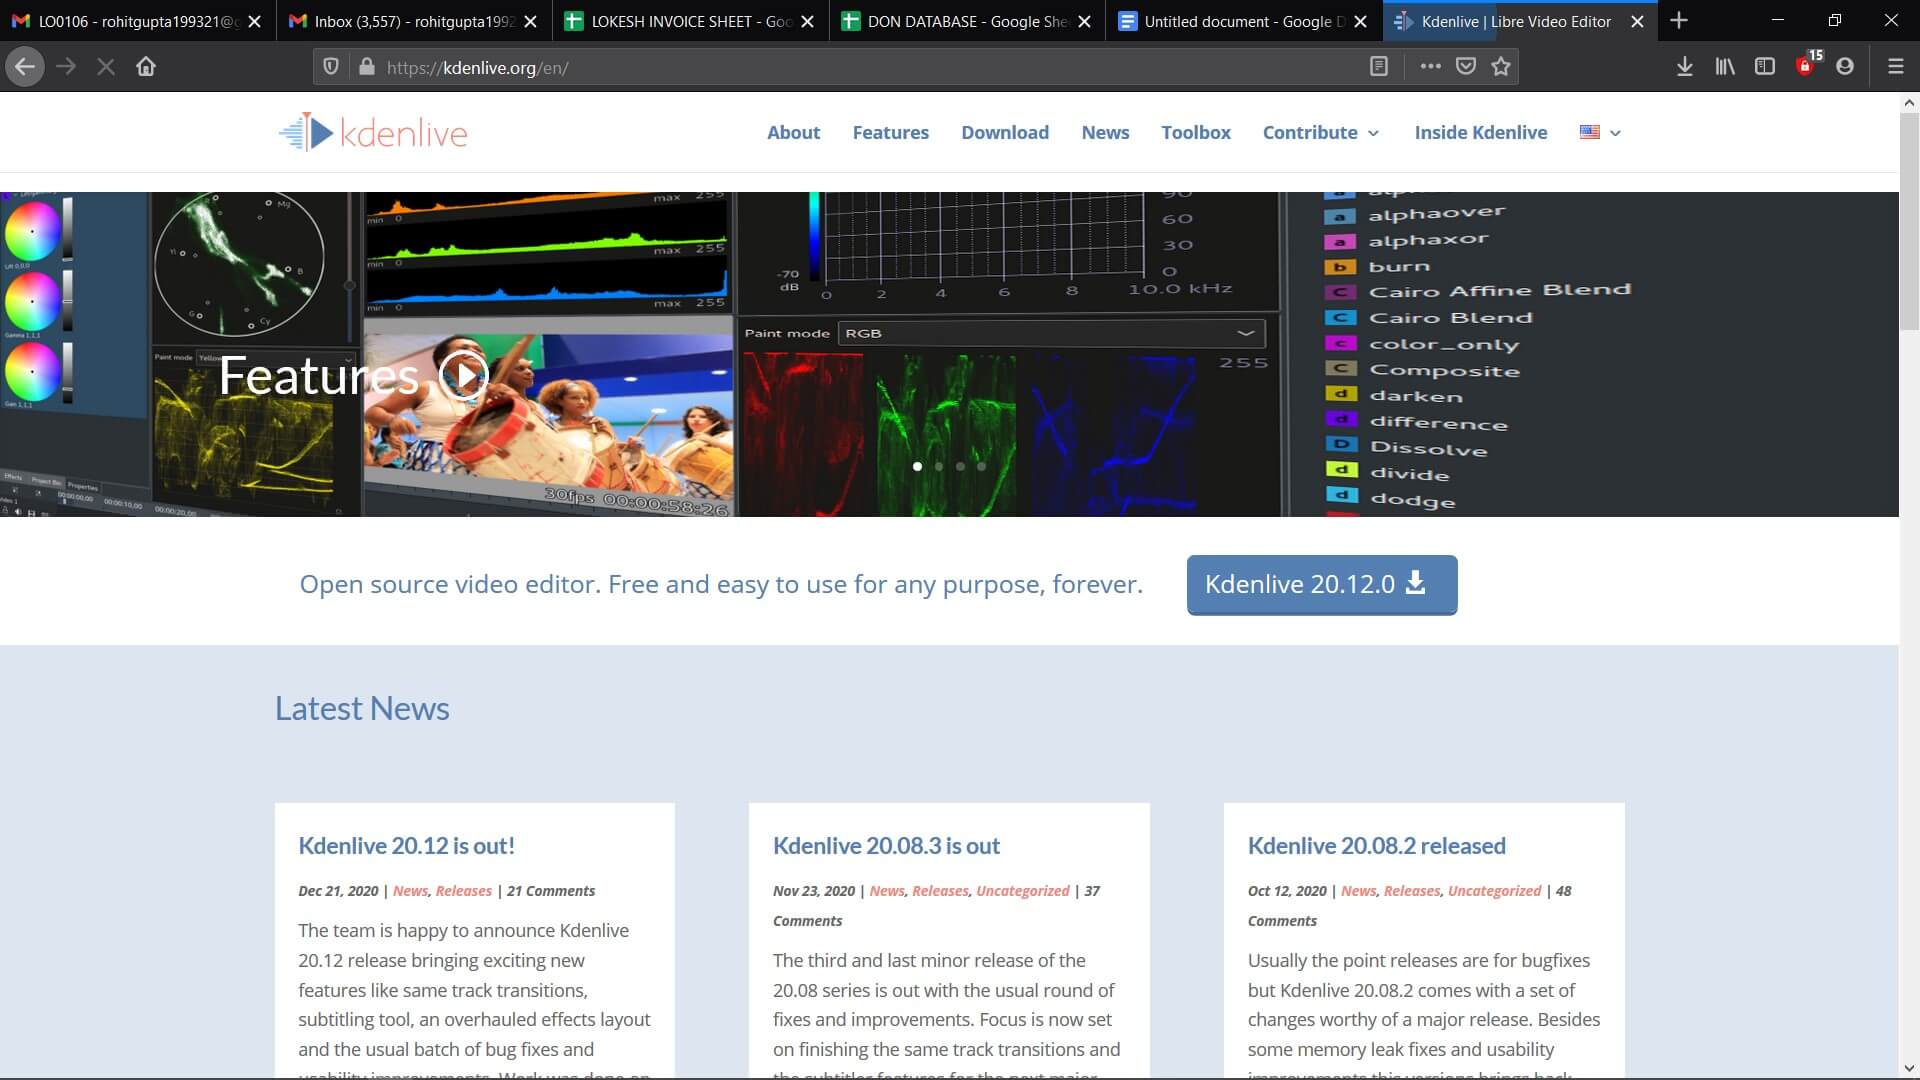
10. Kdenlive
Albeit the development team has shifted full-steam ahead on Linux, you can use the video editing software on Mac. It supports all popular media formats and lets you add files to the software’s timeline pretty easily.
Pros
● Lets you edit video and audio tracks
● Customizes shortcuts easily
● Is an open-source software
Cons
● Updates slowly
11. Blender
This is a free 3D graphics application that is considered to be one of the top video editors for Mac. It is used for rigging, modeling, UV unwrapping, animation, and more. The blender comes with several advanced features such as powerful character, modifier-based modeling, etc.
Pros
● Supports GPU and CPU rendering
● Is a 3D creation suite
● Has different sculpture brushes and tools
Cons
● Animation management isn’t smooth
Conclusion
Creating videos for TikTok and making them unique becomes easy when you choose one of the best TikTok editing apps/websites. However, FilmoraX is one of the top TikTok editing apps you can use without thinking twice because of its unique and standout features. Download the trial version and check it out.
Learn More: How to Make a Video Meme for Tiktok>>>
Shanoon Cox
Shanoon Cox is a writer and a lover of all things video.
Follow @Shanoon Cox
Shanoon Cox
Dec 14, 2023• Proven solutions
TikTok is a super popular social media platform where you can create and share short videos with some dance, song, and lip-syncing. Even though the app has built-in video editing tools that are quite effective, at times to make your videos pop, those features might not be enough if you require something unique for your video. So, to avoid using only the limited features provided by TikTok, you need to use good TikTok editing apps/websites.
In this article, we are going to tell you about the top 10+ free TikTok video editing apps/websites that you can use to edit your TikTok videos and make them stand out.
2. FlexClip
It is an online TikTok video creator and editor. You can access it for free. It has several features that you can use for creating engaging TikTok videos in the browser. You do not even have to take the trouble of installing the app on your Mac system.
To make sure that you can easily find the media resource that you need, FlexClip offers a large media library where you can search for audio, video, and photo by using a keyword. So, by using this, you will be able to edit like professionals.
Pros
● East and free to use
● Several video template
● No need to download software
● Several royalty-free media sources
Cons
● The free version is limited
● Doesn’t have an undo button
3. ClipChamp
ClipChamp is another online video editor. It has an intuitive and simple interface. With this, you will be able to enjoy great editing functions. The online TikTok video editor tool caters to all video editing requirements like splitting, cutting, and adding music or text. But this is not all, the tool will also let you apply filters and add a transition. You can access it for free. This is the best video editing tool for beginners.
Pros
● The free to use and work in the browser
● Has a large media library
● Lets you import files with just a click
Cons
● The free version offers only limited features
● You have to sign up to use
4. Kawping
Kapwing is a web-based video editor that can create amazing videos with the help of a few simple steps. All you have to do is upload the video clips to the Kapwing editor and do editing works like trimming, splitting, adding text, resizing, adding music and text, and more. One of the best things about this website is it is not going to add a watermark to the video.
Pros
● Available for free and easy to use
● Doesn’t add watermark
● Comes with several editing features
Cons
● Exports video rather slowly
● Doesn’t have media resources
5. Camtasia
This is video editing software that you can use to edit your videos for TikTok. The platform is equipped with features that optimize the creation of videos. Mac users can expect the software to run smoothly on their system.
In case you are interested in checking out the Camtasia offer, you can try out the free trial. As soon as the period expires, you will have to sign up for a license. When you get the license, you will be able to unlock all the features.
Pros
● Screen recording with audio
● Large audio and music library
● Offers video templates
Cons
● The free trial doesn’t offer all features
6. Adobe Rush
It is an app that is available for macOS, Windows, iOS, and Android. To use this, you do not have to be a video editing professional. As it is a cross-platform app, you can easily create videos using it. You can adjust the video aspect ratio using the color grading effect or some of the motion graphic templates of the app.
Apart from this, it also lets you adjust the Shadows, Vibrance, and Exposure in a video clip. Nevertheless, the free version of the app comes with limited features. Choose the annual or monthly subscription model if you have to expand the cloud storage space.
Pros
● Lets you share videos directly from Tiktok
● Cross-platform availability
● Is compatible with the other video editing software products by Adobe
Cons
● The app cannot be accessed in all corners of the world
● The free version allows you to export just 3 videos every month
7. Wondershare Filmora
Filmora is going to give you access to the editing tools that you will need for creating comic videos or music to share on TikTok. The video editing software for PC and Mac computers allows you to edit footage that has been recorded using smartphones, action cameras, or DSLRs.
Cutting and trimming video clips, creating soundtracks for some music video, or adjusting the aspect ratio are a few things that you can do using Filmora. The exporting features of the video editor are impressive. It lets you select the device where you are going to play the video. You can upload it directly to your TikTok profile.
Pros
● Offers multiple audio and visual effects
● Supports 4K video editing
● Powerful video and sound editing tools
Cons
● Doesn’t allow you to export videos from TikTok to FilmoraX
8. BeeCut
This is a video editing that is quite popular among Mac and Windows users. Apart from having a simple user-interface it also has some powerful video editing functions. With the help of this, you can add exciting and cool filters to your TikTok videos. You can also add overlays, PIP effects, titles, transitions, and much more. The software supports 5 aspect ratios that include 4:3, 3:4, 9:16, 16:9, and 1:1. Even if you have no idea about editing videos on your computer, you can use the editor to create stunning videos in no time.
Pros
● Lets you edit TikTok videos using various tools
● Enables video editing in multiple aspect ratios and resolutions
● Comes with several color strokes, animation, and other effects
Cons
● Doesn’t have Chroma Key function
9. Open Shot
OpenShot is simple and free to use open-source video editor available for Windows, Mac, and Linux. It is a good video editing tool for beginners. With this, you can learn video editing skills. If you have to learn the basics without spending too much time, this video editor is your best shot.
Other than doing basic video editing, you will also be able to render 3D animation. Using this editor, you can slice and trim videos without any hassle.
Pros
● Provides templates for editing tiles
● Lets you trim videos at your will
● Has free built-in animation and effects
Cons
● Can be buggy at times
10. Kdenlive
Albeit the development team has shifted full-steam ahead on Linux, you can use the video editing software on Mac. It supports all popular media formats and lets you add files to the software’s timeline pretty easily.
Pros
● Lets you edit video and audio tracks
● Customizes shortcuts easily
● Is an open-source software
Cons
● Updates slowly
11. Blender
This is a free 3D graphics application that is considered to be one of the top video editors for Mac. It is used for rigging, modeling, UV unwrapping, animation, and more. The blender comes with several advanced features such as powerful character, modifier-based modeling, etc.
Pros
● Supports GPU and CPU rendering
● Is a 3D creation suite
● Has different sculpture brushes and tools
Cons
● Animation management isn’t smooth
Conclusion
Creating videos for TikTok and making them unique becomes easy when you choose one of the best TikTok editing apps/websites. However, FilmoraX is one of the top TikTok editing apps you can use without thinking twice because of its unique and standout features. Download the trial version and check it out.
Learn More: How to Make a Video Meme for Tiktok>>>
Shanoon Cox
Shanoon Cox is a writer and a lover of all things video.
Follow @Shanoon Cox
Also read:
- Dive Deep Into TikTok's Voiceover Realm for 2024
- [Updated] In 2024, GastronomicGuide Leading Food Videos
- [Updated] Top Picks 6 Cost-Free TikTok Converters for MP3 Downloads for 2024
- 2024 Approved Find Your Inner Peace with TikTok's Best Country Tracks
- In 2024, Exploring Popular Alternatives to TikTok - Updated Edition
- Escaping TikTok's Silent Screens Methods to Unshadowban
- [Updated] Top 10 Windows & PC TikTok Video Mashup Tools for 2024
- Pixel Perfection Cutest/Scariest Filter Guide for TikToks
- [New] 2024 Approved Giggles Gazette The Funniest Trends and Personalities on TikTok
- [Updated] 2024 Approved Mastering a New Identity The Complete TikTok Username Transformation
- [New] In 2024, From Disparate Pieces to a Cohesive TikTok Story
- Your Complete Guide to Understanding TikTok’s PFP Symbol
- [Updated] Viral Victory Top 10 Triumphant TikTok Struggles for 2024
- [Updated] 2024 Approved How to Uncloak From TikTok’s Undetectable Ban
- [New] Unique and Personalized Approaches to Your TikTok PFP
- [New] 2024 Approved Inspirational Stars of TikTok's Viral Charts
- [New] The Ultimate Guide to Instagram's New Features for 2024
- [Updated] Winning Approach to Saving Twitter's Humor
- [New] Balancing Bandwidth for OBS Streams
- [Updated] 2024 Approved Maximize Marketing Magic Ranking of 8 Facebook-Friendly Apps
- In 2024, 5 Tutorials on How to Transfer Photos From Apple iPhone SE to New iPhone | Dr.fone
- 2024 Approved Quick Fix Tweeting Vids Pause in Chrome
- In 2024, Mac Video Maker Effortless Slideshow Creation for Mac Users
- Getting Ahead with Professional iTunes Capture Methods
- [Updated] In 2024, Ultimate ShotTaker Windows/Mac Capture Tools
- [Updated] In 2024, Direct to Your Library Simple Windows & Mac Techniques for Downloading IGTV
- Double Location Dongle All to Know About Apple iPhone 7 Plus/iPad GPS Spoofing | Dr.fone
- [New] In 2024, The Instagram Growth Strategy Handbook
- [Updated] Streamlining Zoom Sessions Through Effective Recording
- Title: "[New] Cutting-Edge TikTok Recording Capturing High-Quality Videos with Ease for 2024"
- Author: Brian
- Created at : 2024-05-23 14:42:44
- Updated at : 2024-05-24 14:42:44
- Link: https://tiktok-videos.techidaily.com/new-cutting-edge-tiktok-recording-capturing-high-quality-videos-with-ease-for-2024/
- License: This work is licensed under CC BY-NC-SA 4.0.
